Wiring up the 2MC/127H/228HUpdated 6 months ago
Getting Started
You will need the following items for this guide:
- HornBlasters Universal Wiring Kit (WK-U)
- Wire Crimp Tool
- Wire Cutter/Stripper
- Brain
The Fuse Holder
The fuse holder included with our wiring kit comes in a loop. This can be confusing at first. Using a cutter, cut the loop in the middle to make two separate ends for the fuse holder.
Strip each end and crimp the supplied 8-gauge ring terminal to one side. ON the opposite end, crimp the 8-gauge to 10-gauge connector, as shown below.
The end with the ring terminal will attach to the battery positive terminal on your vehicle. The opposite end of the fuse holder will be connected to the red power wire out to our relay.
Main Power Wire
Locate the roll of 10-gauge power wire that was included with your kit. This wire will be used to connect from the fuse holder to the 40-amp relay.

Start by stripping one end of this red power wire and connect it to the smaller end of the crimp connector on the end of the fuse holder. Crimp the wire into the connector to complete this connection. Make sure it is tight and does not come loose.
Route the red wire through the vehicle back to the air compressor/tank. Find a good location to mount the relay. Make sure the relay is close enough to connect to the red wire coming off the compressor/tank. Do not connect this wire yet.
Strip the opposite end of the red wire and crimp the tan-coloured terminal connector onto the wire as shown below.
Connect this terminal connector pin 87 on the relay. This is the pin that runs sideways, instead of vertical like the other 3. See the following image:
Your main power is hooked up and ready for use. Let's finish up the other pins on the relay.
Relay Ground
The ground (-) for the relay is extremely important. If the relay doesn't have a proper ground, it won't work and the compressor will never kick on and fill the tank.
To start, locate the roll of grey or blue 18-gauge wire that was supplied with your kit.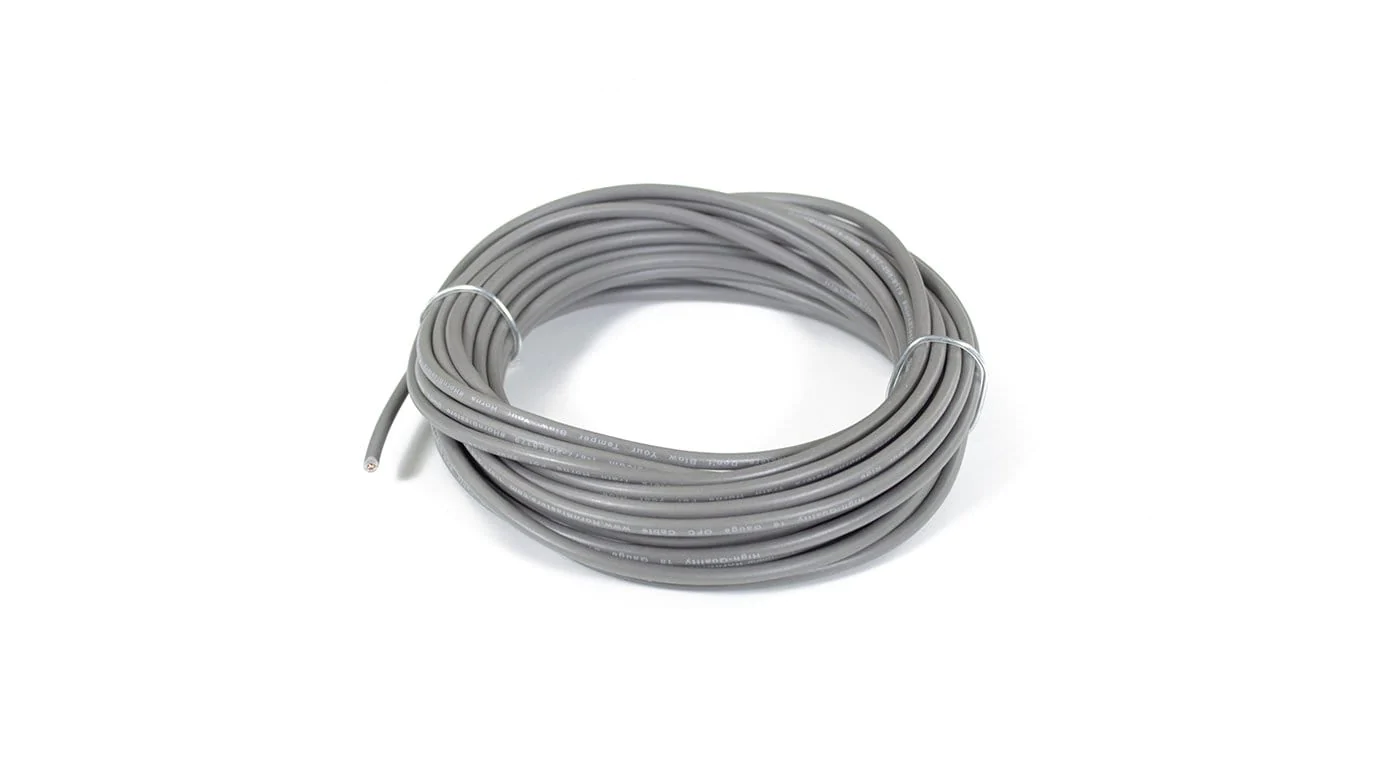
Strip one end of this wire and crimp one of the small red female terminal connectors onto the wire.
Connect this lead to pin 85 on the relay, as shown below.
Route the grey wire to the frame of the vehicle (or back up to the negative battery terminal). Use the supplied 18-gauge ring terminal connector to secure the wire to the frame as a ground (or negative battery terminal). Do not use the tool box or bed as a ground, these will not work. The frame MUST be used!
Relay Trigger (this is what tells the relay to turn on)
This connection will use the 18-gauge grey or blue wire similar to the last step. We will crimp a terminal connector onto one end of the wire as we did previously, and connect this terminal to pin 86. Your relay will look like this:
With that connected, we need to find a good key-power source to tap this into. A good key-power source would be something like the cigarette lighter, radio, or an upfitter switch (if applicable).
You can use the included t-tap connector to splice off a wire that is key-power on. The radio or cigarette lighter are usually the easiest to do. If you can't find a good key-power source, you can use the included toggle switch instead to turn the relay on/off. Only problem with that is if the toggle switch is left on after you park, the compressor could run while the vehicle is off. The following example shows how a t-tap connector could be used to tap into the OEM horn. You can do the same but with an accessory +12v wire instead of the OEM horn.
To finish the relay, connect the red wire from the compressor over to the last remaining pin on the relay. This will complete the relay wiring.
Running the Compressor
Go ahead and insert one of the 30A fuses into the fuse holder (30A - Green Fuse).
Ground the black wire from the air source over to the frame of the vehicle.
Turn the key over and listen for the compressor. It should start to run and fill the air tank with air.